Part 5: Organic Laboratory Techniques
17 Melting Point Determination
One measurement that can qualitatively determine purity is to take the relative melting point of your analyte (product, unknown, etc.) and compare to the melting point of a standard or a known melting point from the literature. Melting point of a compound will be a range. Presence of impurities will lower and broaden the melting point range. The narrower the experimental melting point range is, the purer the compound is.
To use the Melt Station with Logger Pro 3 Software[1]

Load a small amount of the solid substance into a capillary tube. This 3-minute video: Loading capillary tubes with benzoic and mandelic acids[2] demonstrates how to load a finely-ground solid into a glass capillary tube. Never load capillary tubes directly from the stock bottles to avoid introducing contamination.
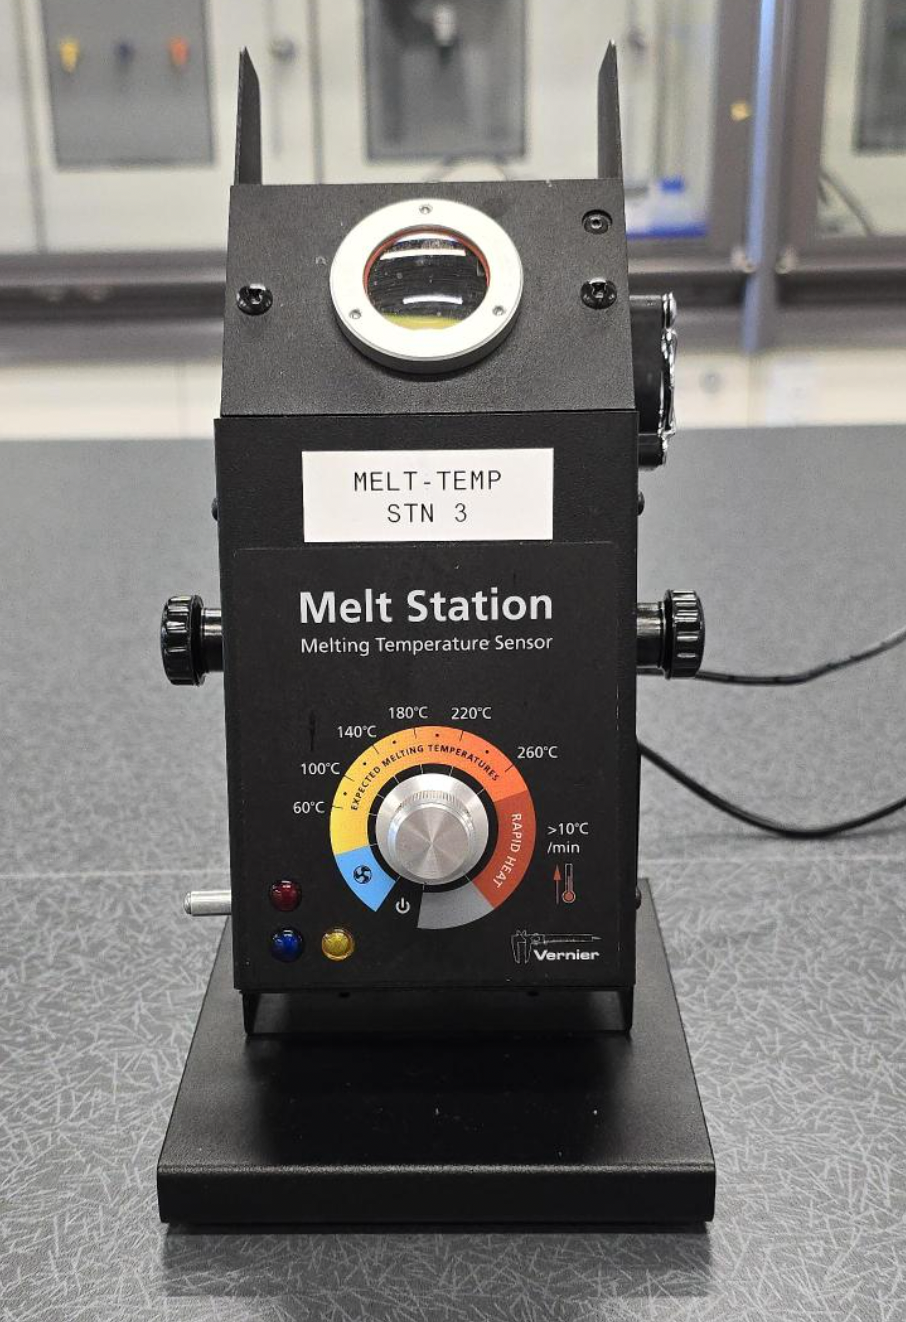
Ensure that the power supply to the Melt Station, pictured in Figure 12, is off and connect the power supply. Connect the Melt Station sensor via Bluetooth or via cable to a computer that has installed Logger Pro 3 software. Launch Logger Pro 3. A live temperature reading will display even though the Melt Station control knob is in the “off” position.
Carefully place the filled capillary tube into one of the three slots of the aluminum heating block within the Melt Station. Tilt the station toward you slightly for a better view of the slots. Once placed, adjust the tilt of the station to best position the viewing chamber (window at the top of the station) to observe the melting process.
In general, the station will collect 100 readings over a 20-minute period which should be sufficient to melt most substances in the course. Begin collection by selecting “Collect” in the Logger Pro 3 interface and turning the control knob on the station to “Rapid Heat” region. A red LED light will turn on to alert you that the unit is heating. Rapid heat indicates a rate of > 10°C per minute.
Note: When the red LED light is on or as the unit cools down, take care not to touch the hot Melt Station or to allow combustible materials to get close (paper, flammable cloth, chemicals).
When the sample approaches the temperature within 10°C of the literature value for the substance, slow the heating rate to 1.5°C/min. This slower rate allows the best precision in determining the point that the solid has completely liquified.
While the Melt Station is collecting data to populate the temperature vs time table, you should carefully observe your sample through the viewing chamber. At the first indication of the solid melting (it may appear “melted” or “liquified” around the edges, for example), click “Mark” (or press the D on the keyboard) to indicate to Logger Pro 3 that the melting has begun and to mark the temperature on your graph. Mark the temperature again when all the solid completely melted. The two temperatures you recorded are the melting point range of the solid sample.
- Vernier. Melt Station manual (PDF) ↵
- Gilchrist, M. “Loading capillary tubes with benzoic and mandelic acids” Published 16 July 2020. ↵

